System setup process
This guide outlines the complete process for setting up a Kubernetes system using MicroK8s, a lightweight Kubernetes distribution. The setup includes essential components like kubectl and Helm, along with necessary configurations for running containerized applications.

Follow these steps sequentially to ensure a proper setup of your Kubernetes environment. Each section provides detailed commands and explanations to help you understand what you're implementing.
About ComputeBlade platform
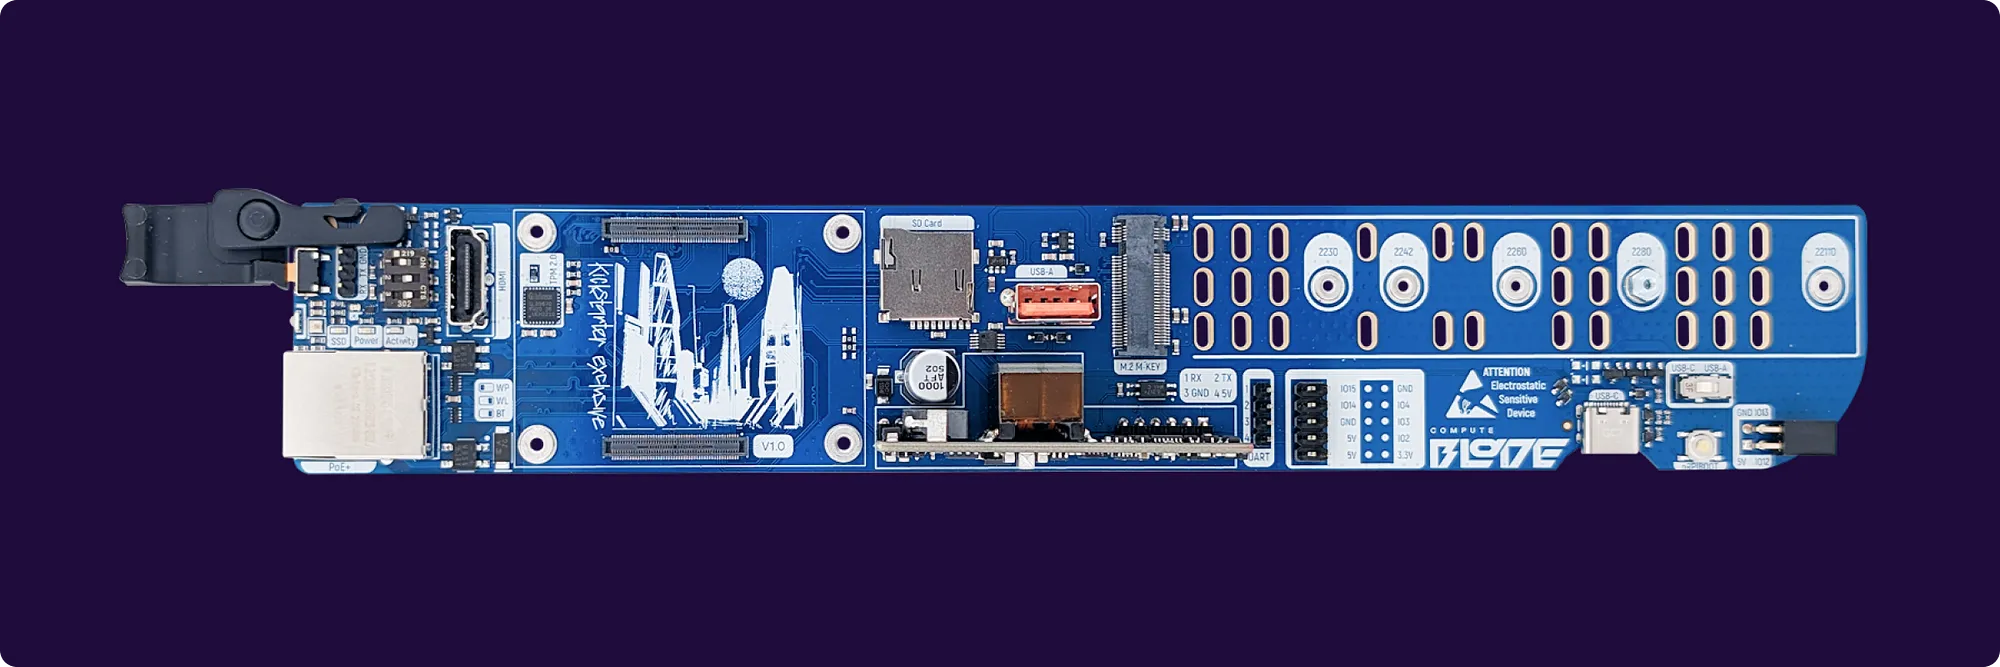
ComputeBlade is a rack-mountable, Power over Ethernet (PoE)-powered carrier board designed for the Raspberry Pi Compute Module 4 / Compute Module 5 (CM4 / CM5) and compatible devices. It enables the creation of high-density, low-power-consuming, plug-and-play blade servers suitable for both home and data center environments.

Step-by-step guide
In the end of this instruction you'll have set up ComputeBlade with a functioning Kubernetes environment, including:
- A single-node MicroK8s Kubernetes cluster
- kubectl command-line tool for cluster management
- Helm package manager for Kubernetes
- Basic understanding of cluster operations and management This setup will serve as a foundation for deploying and managing containerized applications on your ComputeBlade hardware.
Installing MicroK8s
MicroK8s is a user-friendly Kubernetes distribution maintained by Canonical (Ubuntu). It provides a lightweight, production-ready Kubernetes that's easy to install and manage, making it an ideal choice for both development and production environments.
sudo snap install microk8s --classic
Adding your user to the microk8s admin group
MicroK8s creates a group to enable seamless usage of commands which require admin privilege. Use the following commands to join the group:
sudo usermod -a -G microk8s $USER
sudo chown -f -R $USER ~/.kube
You will also need to re-enter the session for the group update to take place:
su - $USER
Check the status while Kubernetes starts
microk8s status --wait-ready
Give it some time to finish.
Turn on the services you want
We recommend to start next services by default:
microk8s enable dashboard dns ingress
Try microk8s enable --help for a list of available services and optional features. microk8s disable ‹name› turns off a service.
Start using Kubernetes
microk8s kubectl get all --all-namespaces
Access the Kubernetes dashboard (optional)
microk8s dashboard-proxy
Installing kubectl
kubectl is the official command-line tool for Kubernetes that allows you to run commands against Kubernetes clusters. You can use kubectl to deploy applications, inspect and manage cluster resources, and view logs. It's an essential tool for:
- Deploying and managing applications in Kubernetes clusters
- Viewing and modifying cluster state and configuration
- Debugging and troubleshooting cluster issues
- Accessing cluster documentation and getting help with commands
- kubectl communicates with the Kubernetes API server to execute commands and manage your cluster resources. It's a fundamental tool for any Kubernetes administrator or developer.
To install it execute the following command:
sudo snap install kubectl --classic
Export config for kubectl:
microk8s config > $HOME/.kube/config
chmod -R 700 /home/ubuntu/.kube/config
Installing Helm
Helm is a package manager for Kubernetes that simplifies the process of installing and managing applications. It serves several key purposes:
- Manages complex application deployments through pre-configured “charts” — packages of Kubernetes resources
- Enables version control and rollback of deployments to maintain application stability
- Simplifies sharing and reuse of Kubernetes applications across different environments
- Provides templating to customize application configurations without changing the original chart Think of Helm as the “apt” or “yum” of Kubernetes — it makes it much easier to install, upgrade, and manage applications in your Kubernetes cluster.
You can fetch that script, and then execute it locally. It's well documented so that you can read through it and understand what it is doing before you run it.
curl -fsSL -o get_helm.sh https://raw.githubusercontent.com/helm/helm/main/scripts/get-helm-3
chmod 700 get_helm.sh
./get_helm.sh
Well done
Congratulations! You have successfully set up a complete Kubernetes environment on your ComputeBlade. Your system now includes:
- A functioning MicroK8s Kubernetes cluster
- Kubectl command-line tool for cluster management
- Helm package manager for deploying applications You're now ready to start deploying and managing containerized applications on your ComputeBlade. The foundation you've built will allow you to explore more advanced Kubernetes features and deployments as needed.
Resources
- Installing Helm | HELM Project
- Install Kubernetes | Canonical Kubernetes

